Viewing, downloading, and emailing receipts for your npm user account
Table of contents
Table of contents
Note: This article only applies to users of the public npm registry.
You can view, download, and email receipts for the complete billing history of your npm user account.
Viewing receipts
- Log in to npm with your user account.
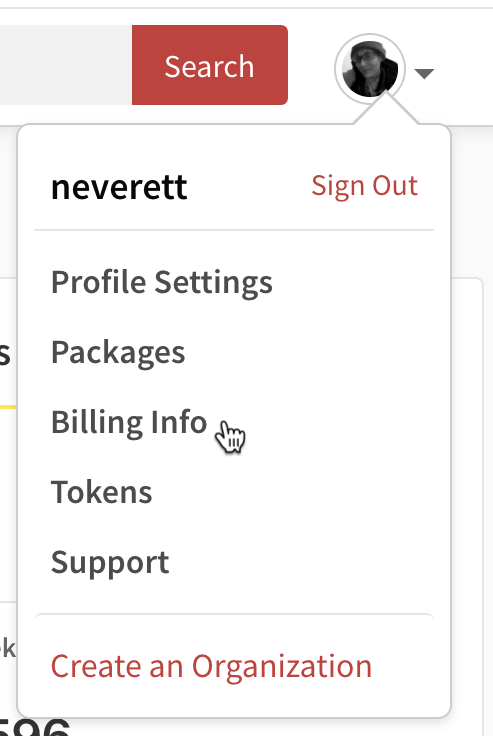
- In the upper right corner of the page, click your profile picture, then select Billing Info.
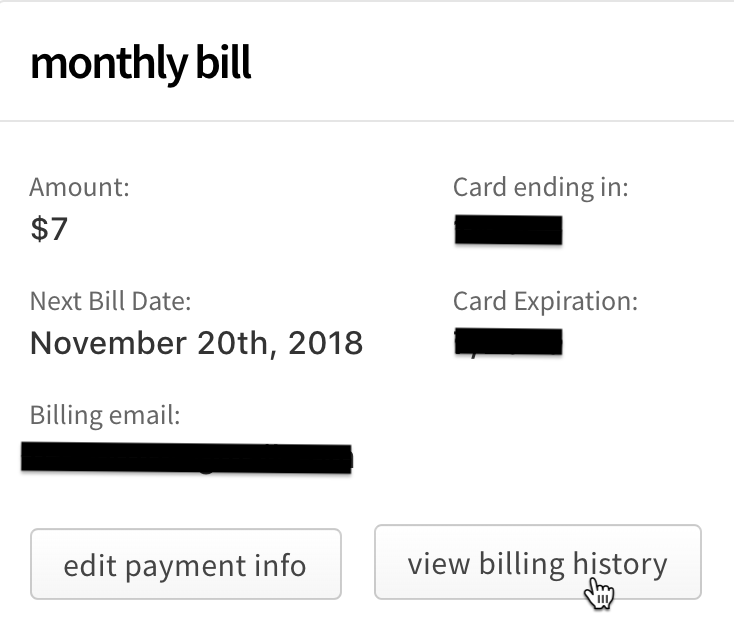
- On the Billing Information page, under "monthly bill", select View Billing History.
- To view a single receipt, find the row of the receipt you want to view, then, on the right side of the row, click the view icon.

Downloading receipts
- Log in to npm with your user account.

- In the upper right corner of the page, click your profile picture, then select Billing Info.

- On the Billing Information page, under "monthly bill", select View Billing History.

- To download a single receipt, find the row of the receipt you want to download, then click the PDF icon on the right side of the row.

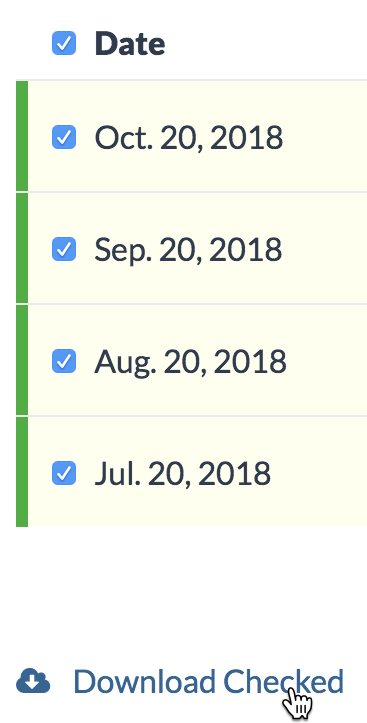
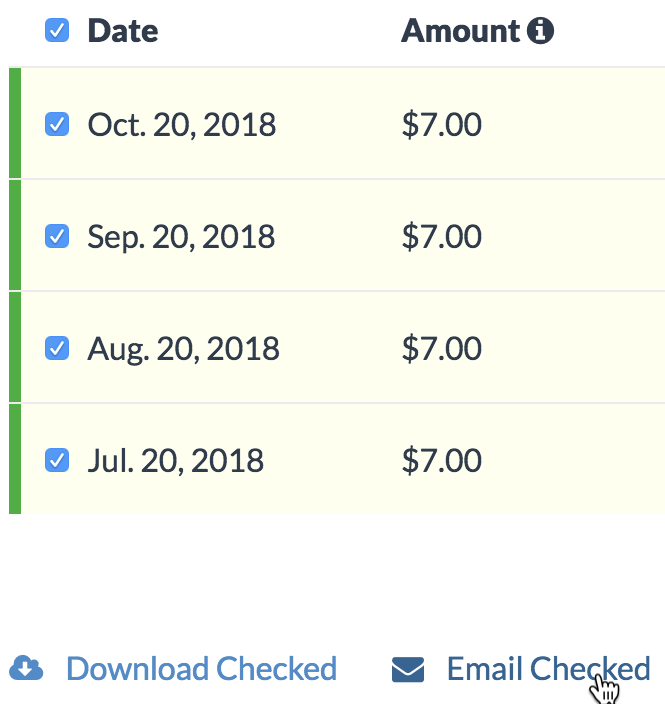
- To download multiple receipts, first select the receipts that you wish to download by selecting the box next to the date. To select all receipts, select the checkbox next to the "Date" header. Then click Download Checked.
Emailing receipts
- Log in to npm with your user account.

- In the upper right corner of the page, click your profile picture, then select Billing Info.

- On the Billing Information page, under "monthly bill", select View Billing History.

- To email a single receipt, find the row of the receipt you want to download, then, on the right side of the row, click the email icon.

- To email multiple receipts, first select the receipts that you wish to download by selecting the box next to the date. To select all receipts, select the checkbox next to the "Date" header. Then click Email Checked.
- In the Email Receipt dialog box, fill in the "From", "To", and "Message" fields.
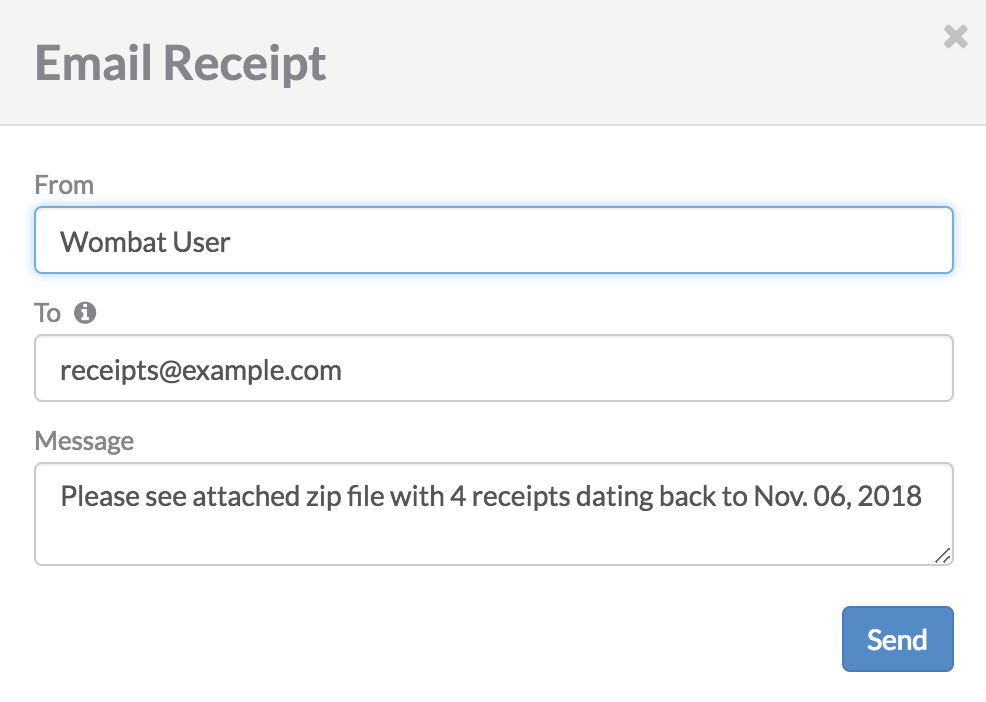
Click Send.